
This post may contain affiliate links. I may earn a commission from qualifying purchases.
Peanut Butter Cup Hot Cocoa Cookies
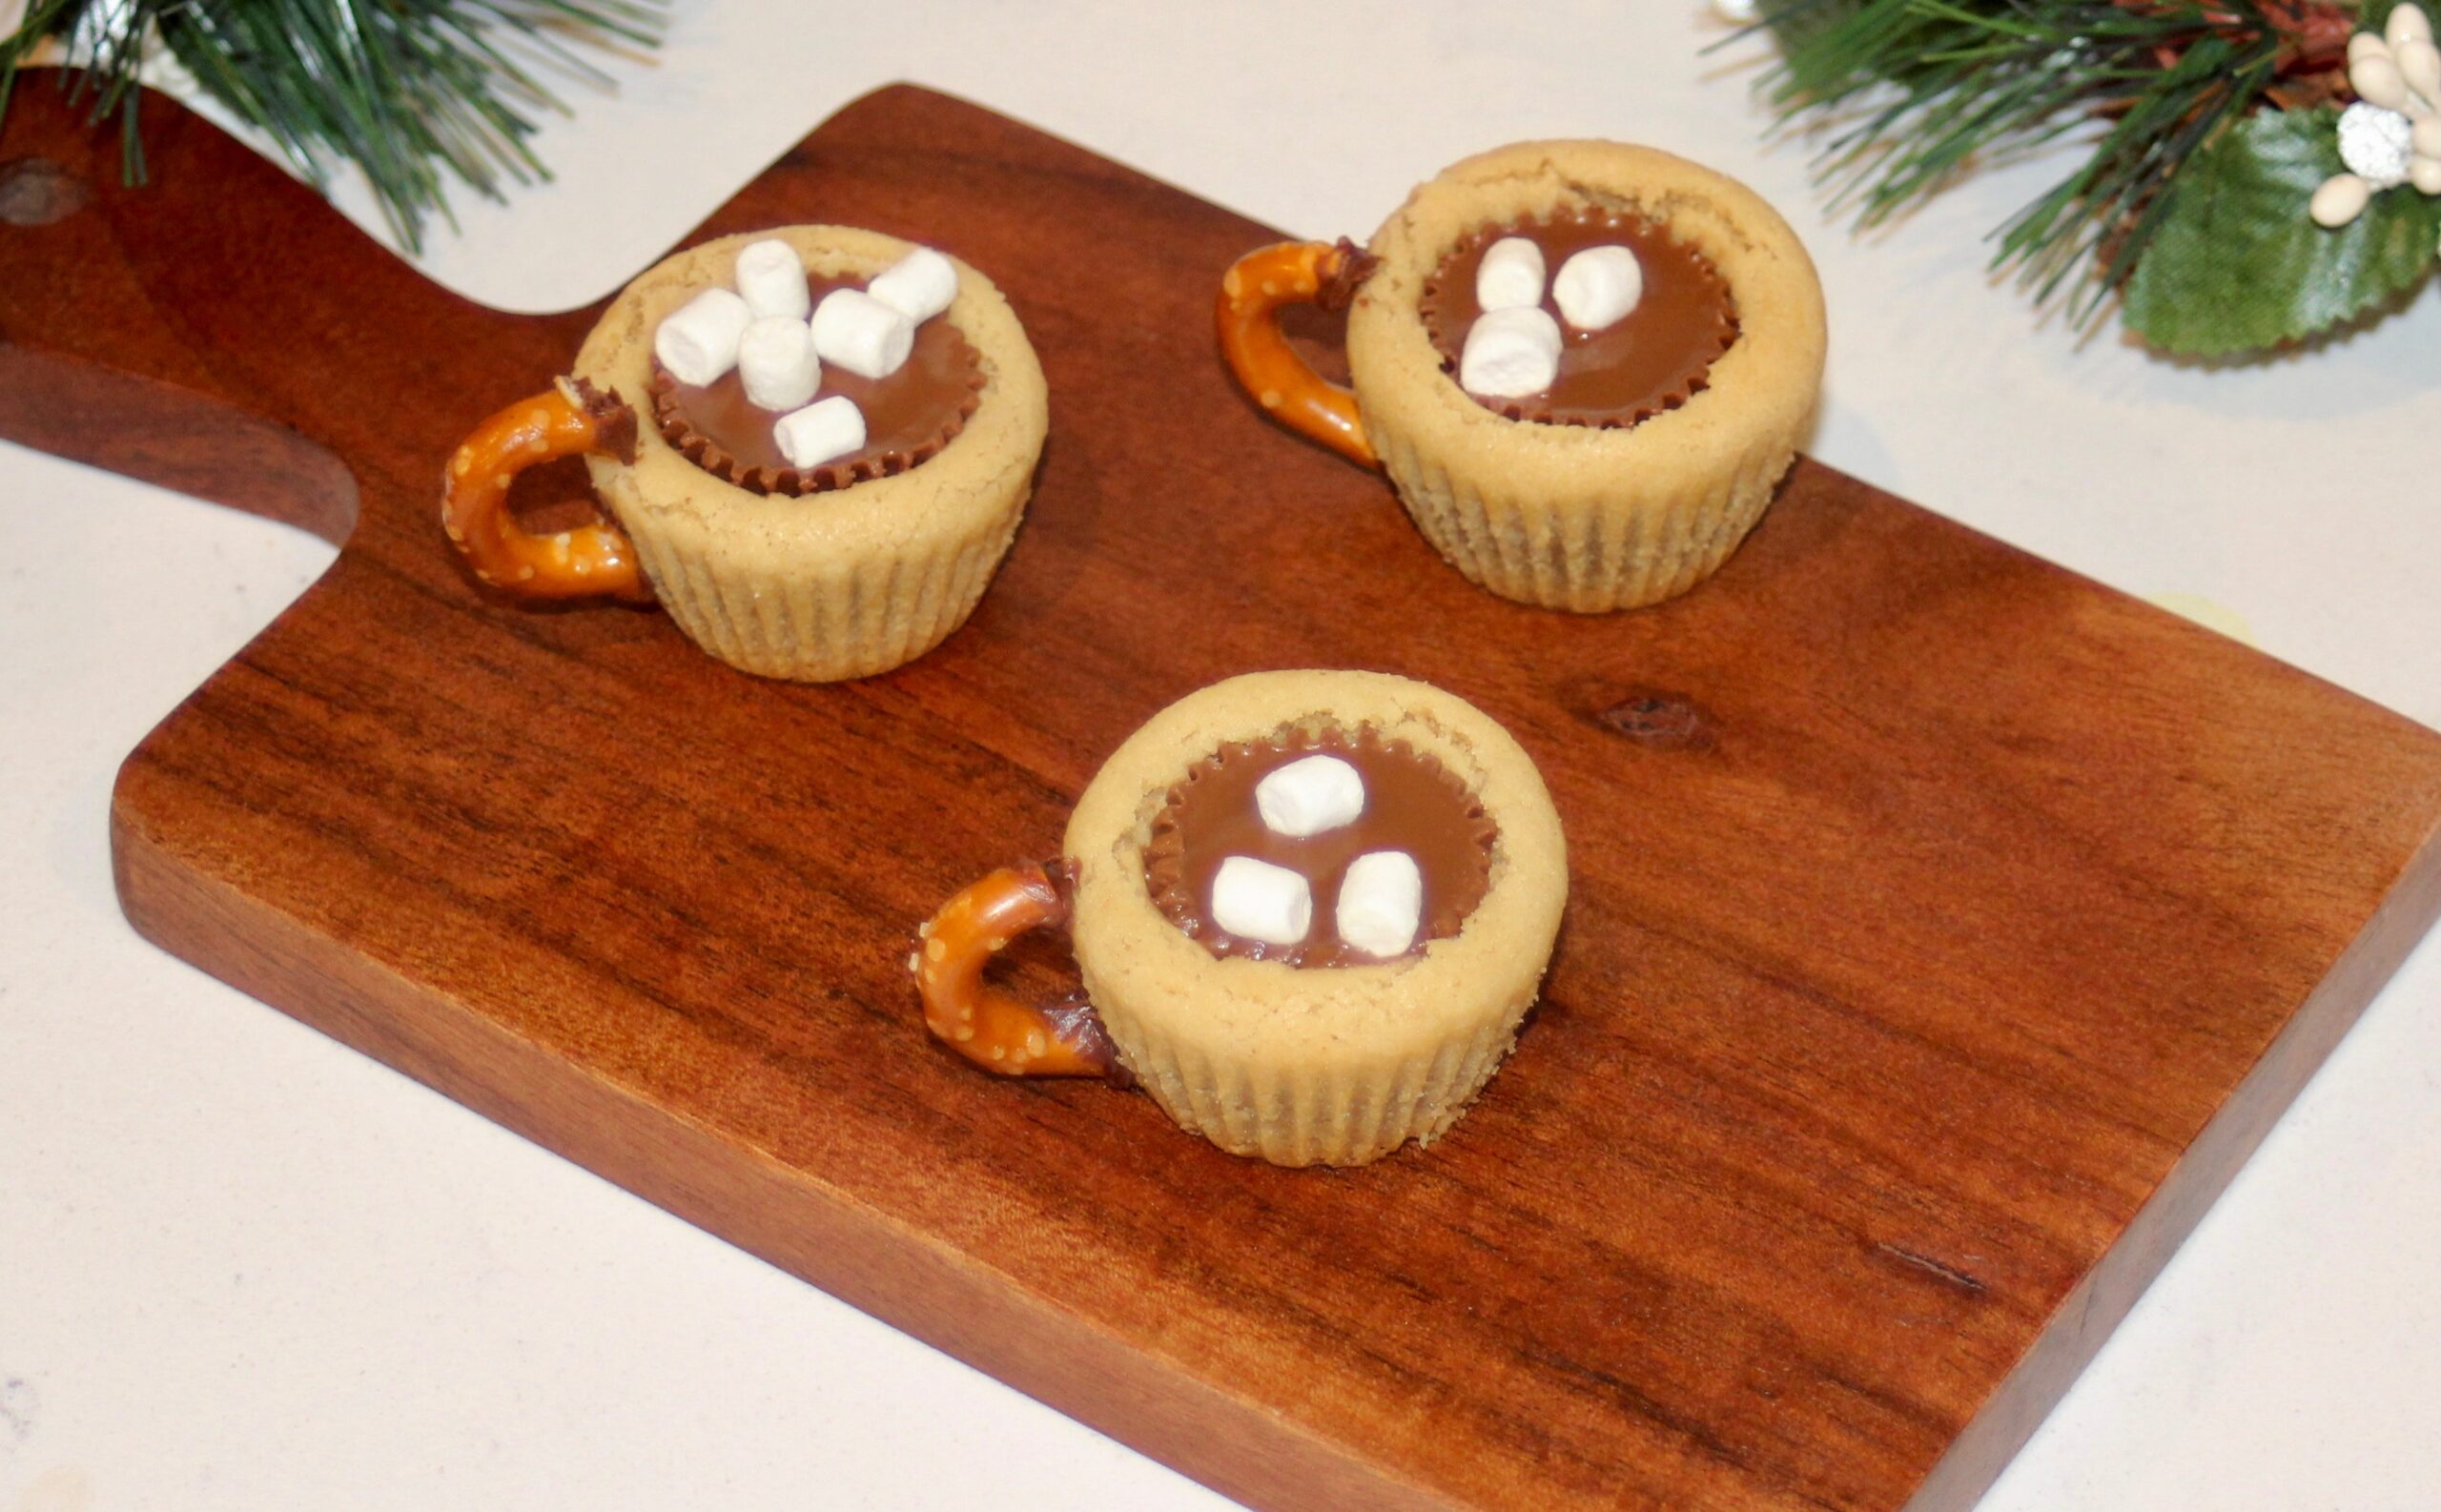
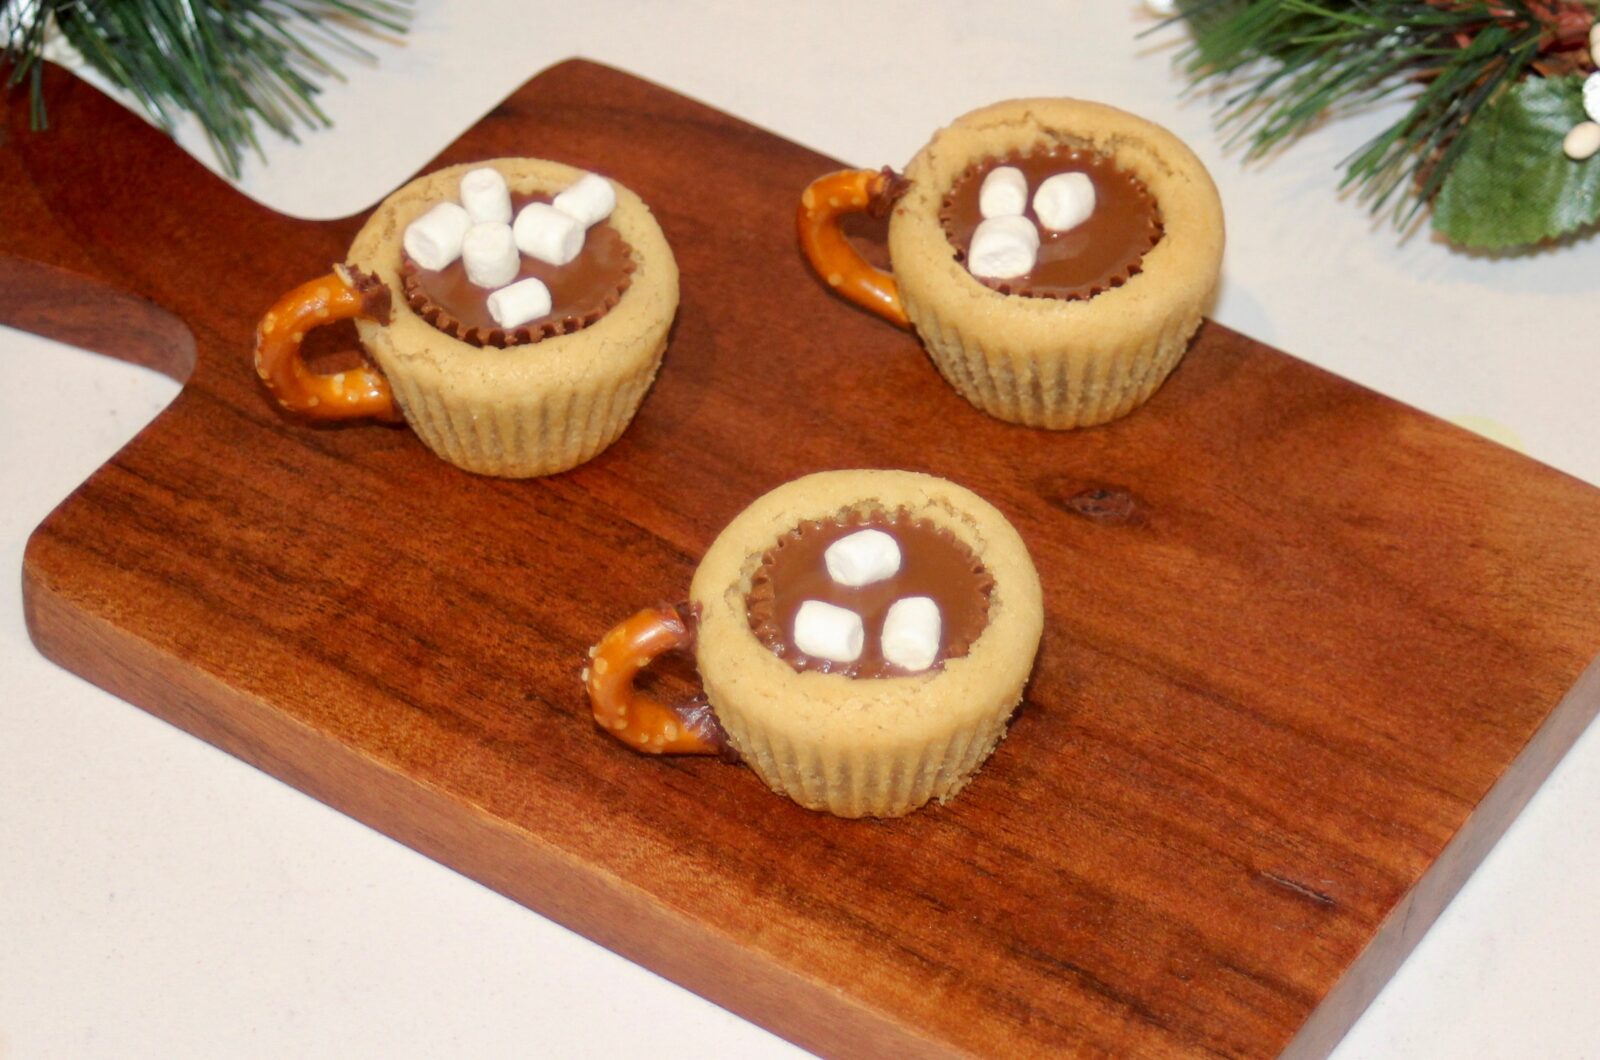
If there’s one cookie that bridges the gap between nostalgia and indulgence, it’s this one. My Peanut Butter Cup Hot Cocoa Cookies are rich, salty-sweet, and packed with all the familiar comfort of a mug of hot chocolate — only reimagined as a bite-sized holiday treat. These start with a classic peanut butter cookie base baked in a mini muffin tin, so they puff up just enough to cradle a warm, melty peanut butter cup in the center. From there, things get festive: I break off pretzel handles, dip them in chocolate fudge frosting, and stick them to the side of each cookie to create a “mug handle.” Then a few tiny marshmallows on top finish the look, giving that cozy hot cocoa vibe that makes these perfect for Christmas parties, cookie swaps, or winter movie nights.
The base itself is tried-and-true — soft, buttery, and full of peanut flavor. A mix of white sugar and brown sugar gives it that perfect balance between crisp edges and chewy centers, while the peanut butter adds richness that pairs perfectly with the milk chocolate from the peanut butter cups. I drop the salt to ¼ teaspoon in mine — just enough to balance the sweetness without overpowering the chocolate. That subtle adjustment makes the cookie base softer and more mellow, letting the chocolate and peanut butter shine through.
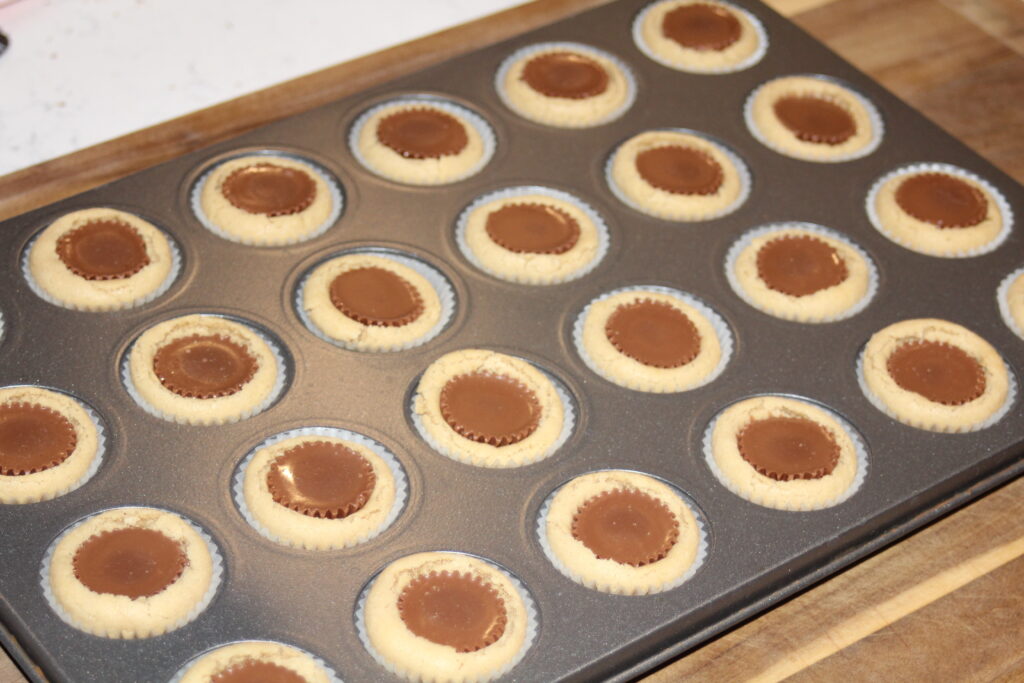
When you pull these out of the oven, timing is everything. You’ve got to press the mini peanut butter cups into the centers right away while the cookies are still warm — that’s what helps them melt slightly into the dough and form that perfect glossy top. One of my best tips: keep your peanut butter cups in the fridge until you’re ready to use them. Cold candy keeps its shape longer when you press it into the hot cookies, so it doesn’t melt into a puddle. I usually unwrap all the Reese’s ahead of time, then store them in a small bowl in the fridge. That way, when the cookies come out, I can move fast — one by one, pressing a chilled peanut butter cup into each warm cookie for a clean, picture-perfect finish.
Once they’ve cooled, that’s when the fun starts. This is where the “hot cocoa” theme comes alive. You’ll dip the broken pretzel pieces into chocolate fudge frosting (it acts like edible glue) and stick them to the side of each cookie so they look like little mug handles. Then sprinkle on some mini marshmallows — I like adding them while the peanut butter cups are still a bit warm so they stick naturally. It’s a simple decorating step, but it gives these cookies such a cool visual payoff. You end up with cookies that look like mugs of hot cocoa — complete with marshmallows, handles, and glossy chocolate tops.
The flavor combination is unbeatable. You get that deep roasted peanut butter flavor, buttery cookie base, and smooth chocolate center from the Reese’s, all finished with a salty pretzel crunch and a pop of sweetness from the marshmallows. Every bite hits a different note — soft, chewy, creamy, crunchy, salty, and sweet all at once. They’re balanced and addictive without being over-the-top. You could eat three without realizing it. (And you probably will.)
These cookies have a great texture contrast, too. The peanut butter dough bakes up dense but tender, the Reese’s center stays slightly molten if you eat them warm, and once they cool, they firm up into the perfect handheld cookie. The pretzel handle gives a subtle crunch that keeps things interesting. It’s everything you want in a Christmas cookie — fun to make, great for gifting, and easy to decorate without needing piping bags or special tools.
If you’re making these for a party, make sure to line them up on a platter — they look incredible as a set. The pretzel handles and marshmallow “foam” make them stand out on any dessert table. Kids love them because they look like mini mugs of cocoa, and adults love them because they taste like nostalgia mixed with a peanut butter cup.
Storage is easy: keep them in an airtight container at room temperature for up to 4 days (though I doubt they’ll last that long). You can also freeze the dough or the finished cookies. If you freeze the dough, portion it into the muffin tin wells first, freeze until solid, and then store in a freezer bag. Bake straight from frozen, adding a minute or two to the bake time. If you freeze the finished cookies, thaw them uncovered at room temperature so they don’t get soggy.
For serving, you can even take the presentation further — drizzle melted chocolate over the top, dust with cocoa powder, or serve alongside mugs of real hot cocoa for a full theme. These cookies also photograph beautifully if you’re doing a dessert board or a holiday reel.
Bottom line? These are show-stopping, easy-to-assemble, party-ready cookies that nail both the flavor and the look. Whether you’re baking for a cookie exchange, building your 12 Days of Christmas Cookies lineup, or just looking for something to impress friends and family, this is one of those recipes that’ll steal the spotlight without any complicated steps.
Peanut Butter Cup Hot Cocoa Cookies
15
minutes8
minutes45
minutesIngredients
1 ¾ cups 1 ¾ all-purpose flour
¼ tsp ¼ salt
1 tsp 4.93 ml baking soda
½ cup ½ unsalted butter, softened (1 stick)
½ cup ½ white sugar
½ cup ½ creamy peanut butter
½ cup ½ packed brown sugar
1 large 1 egg
1 tsp 4.93 ml vanilla extract
2 tbsp 29.57 ml milk
40 40 Reese’s miniature peanut butter cups, unwrapped and chilled
1 tbsp 20.5 g chocolate fudge frosting
20 20 mini pretzels (broken into handle-shaped pieces)
¼ cup ¼ mini marshmallows
1 1 mini muffin pan
Directions
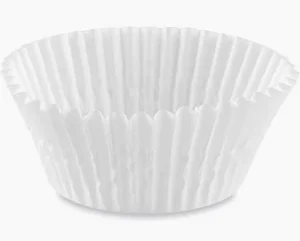
- Preheat your oven to 375°F (190°C). Lightly grease or line a mini muffin tin with mini paper liners.
- In a medium bowl, whisk together the flour, baking soda, and salt.
- In a separate large bowl, cream together the butter, peanut butter, white sugar, and brown sugar until light and fluffy. Beat in the egg, vanilla, and milk until smooth.
- Add the dry ingredients to the wet ingredients, mixing until just combined. Do not overmix — you want a soft, pliable dough.
- Roll the dough into small balls (about 1 inch) and place each into a well of the mini muffin tin. Bake for 8 minutes, or until the tops look set and slightly golden.
- Immediately after removing from the oven, press a chilled mini peanut butter cup into the center of each cookie. The warmth from the cookie will slightly melt the edges and help it adhere.
- Add a few mini marshmallows on top while the peanut butter cup is still warm so they stick.
- Allow the cookies to cool for 10 minutes before removing from the tin.
- Dip a broken pretzel piece into a small amount of chocolate fudge frosting and attach it to the side of each cookie to create a handle.
- Let the frosting set completely before plating. Serve at room temperature or slightly warm for the best texture.
Equipment

Recipe Video
Did you make this recipe?
Tag @calebs.cuisine on Instagram
Join our Facebook Group!
Follow Caleb’s Cuisine on Facebook


