
This post may contain affiliate links. I may earn a commission from qualifying purchases.
Christmas M&M Cookie Bars
What Are Christmas M&M Cookie Bars?
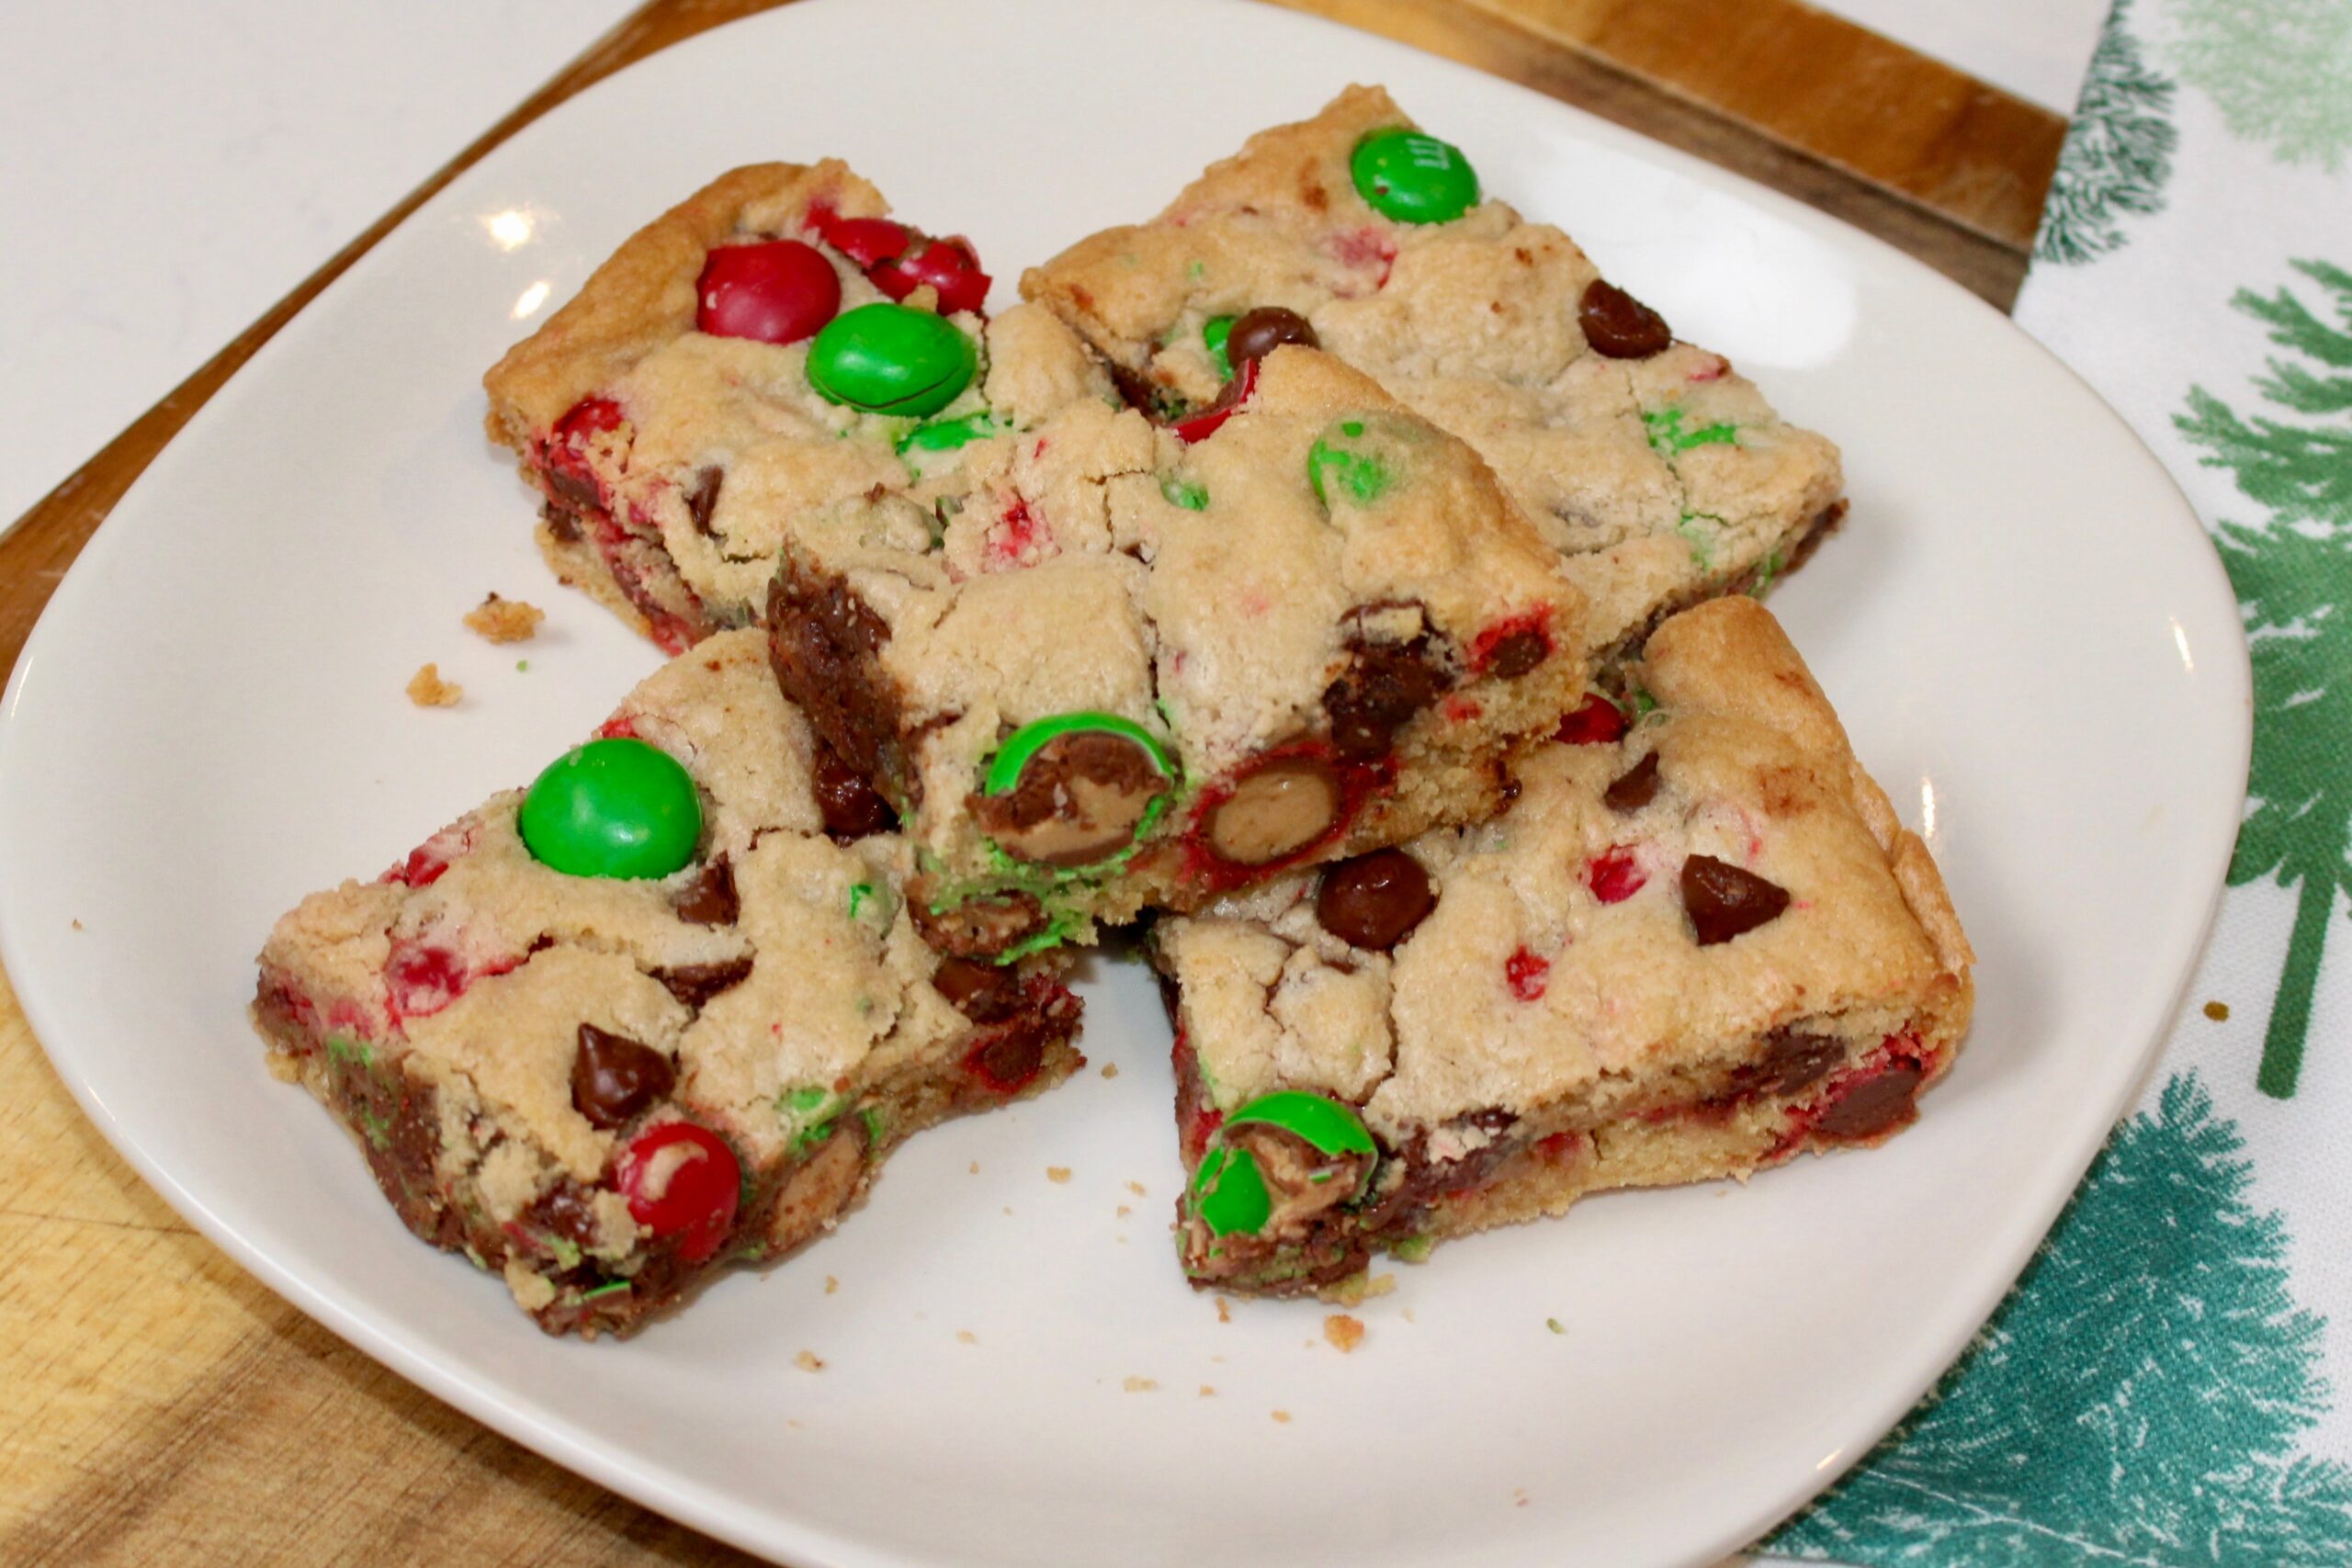
Christmas M&M Cookie Bars are a one-pan holiday dessert built for texture, balance, and efficiency. Instead of baking individual cookies, the dough is pressed into a 9×13 pan and baked as a single slab, then sliced into thick, chewy bars once cooled. The result is everything people love about a classic Christmas cookie — rich butter flavor, chocolate in every bite, festive candy crunch — but with a more consistent bake and far less effort.
These bars lean into a bakery-style approach. They’re dense without being heavy, soft in the center with lightly set edges, and loaded with mix-ins that actually make sense together. Chocolate chips melt into the dough, Christmas M&M’s add color and crunch, and peanut butter M&M’s bring a richer, creamier bite that sets these apart from standard cookie bars.
This recipe is designed to feel intentional. Every ingredient has a purpose, every ratio supports texture, and the final bars slice clean instead of crumbling apart. Whether you’re baking for a party, a cookie tray, or content creation, these bars hold their shape, photograph well, and taste even better the next day.
Why Cookie Bars Are the Move During the Holidays
Holiday baking is fun — until it isn’t. Between multiple batches, oven timing, and trying to keep cookies from overbaking, things can get chaotic fast. Cookie bars eliminate most of that stress.
With cookie bars, everything bakes at once. There’s no scooping dough, no rotating trays, and no guessing whether one batch came out softer than the last. A single pan goes into the oven, bakes evenly, and comes out ready to cool and slice.
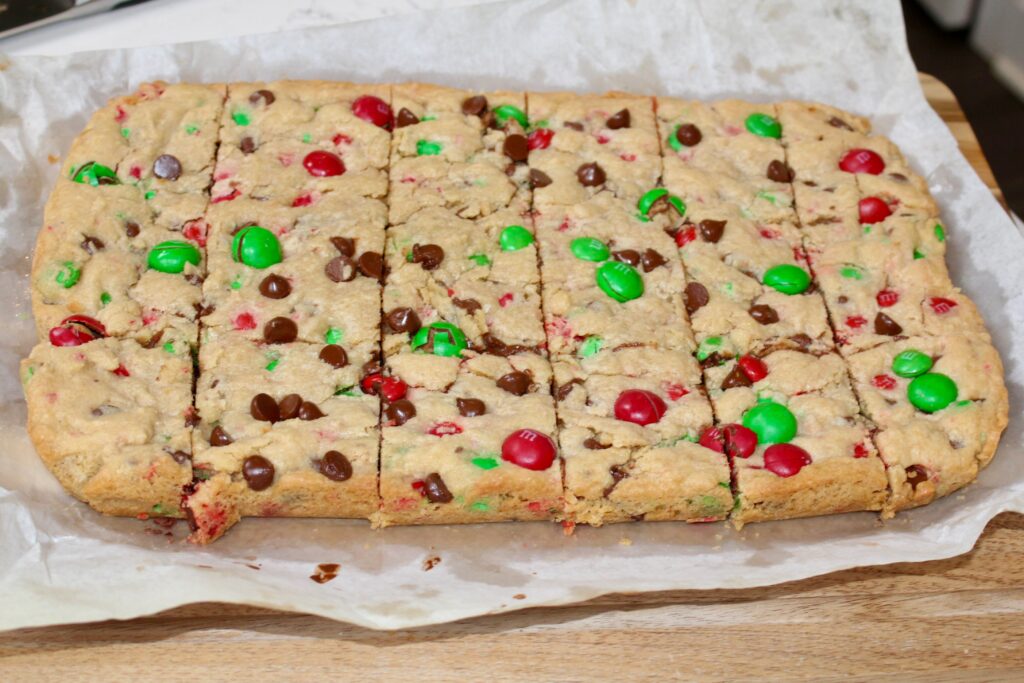
Texture is another advantage. Baking the dough as one slab allows the interior to stay softer and chewier than most drop cookies. The bars retain moisture better, especially with a brown sugar–forward dough like this one. The top sets just enough to hold added chocolate and M&M’s, while the inside stays rich and dense without turning cakey.
For gifting and serving, cookie bars are also easier to handle. They stack neatly, transport well, and look clean when sliced — which matters when presentation counts.
Flavor Profile: What Makes These Bars Work
At their core, these Christmas M&M Cookie Bars are built on a classic butter-forward cookie base. Softened butter mixed with brown and granulated sugar creates a dough that’s rich but not greasy, sweet but not cloying.
The chocolate chips provide depth. They melt into the dough and balance out the candy shells from the M&M’s, keeping the bars grounded instead of overly sweet. This is why the recipe leans slightly heavier on chocolate chips than candy — it gives the bars structure and a familiar cookie flavor.
The Christmas M&M’s bring crunch and visual appeal. Their candy shells add texture, while the red and green colors make the bars instantly recognizable as a holiday dessert. Most major stores, especially Walmart, carry Christmas M&M’s in the seasonal aisle, making them easy to find this time of year.
The real standout, though, is the peanut butter M&M’s. Peanut butter M&M’s are richer and creamier than regular peanut M&M’s, and they add a depth that plain chocolate candy just can’t match. They soften slightly when baked, creating pockets of peanut butter flavor throughout the bars. If you can’t find a holiday-specific bag, pulling red and green candies from a standard bag works perfectly and keeps the look festive.
Ingredient Balance & Ratio Adjustments
This recipe was intentionally adjusted to improve texture and sweetness without changing the overall process shown on screen.
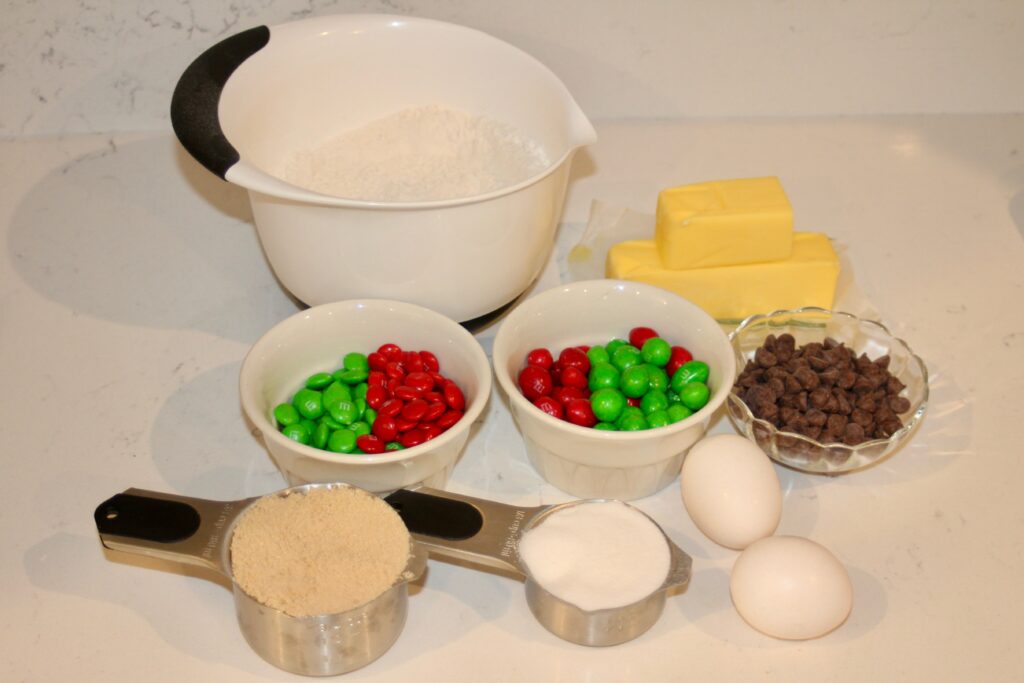
Reducing the flour slightly helps keep the bars tender and prevents them from tasting dry or muted, especially with multiple mix-ins involved. Using 1¾ cups of flour instead of a full 2 cups allows the dough to spread and bake evenly while still holding together when sliced.
The mix-in balance is also key. Rather than overwhelming the dough with too much candy, the add-ins are split intentionally: chocolate chips for melt and structure, Christmas M&M’s for crunch and color, and peanut butter M&M’s for richness. This ensures that every bite has contrast without feeling crowded.
The sugar ratio supports chew. Brown sugar brings moisture and depth, while granulated sugar helps the bars set and develop lightly crisp edges. Together, they create a bar that stays soft for days without turning greasy.
Technique Notes That Matter
Even though this recipe is simple, a few small technique choices make a big difference.
Mixing gently at the end is important. Once the flour and baking soda are added, the dough only needs to be combined until everything comes together. Overmixing can develop too much gluten and make the bars dense instead of chewy.
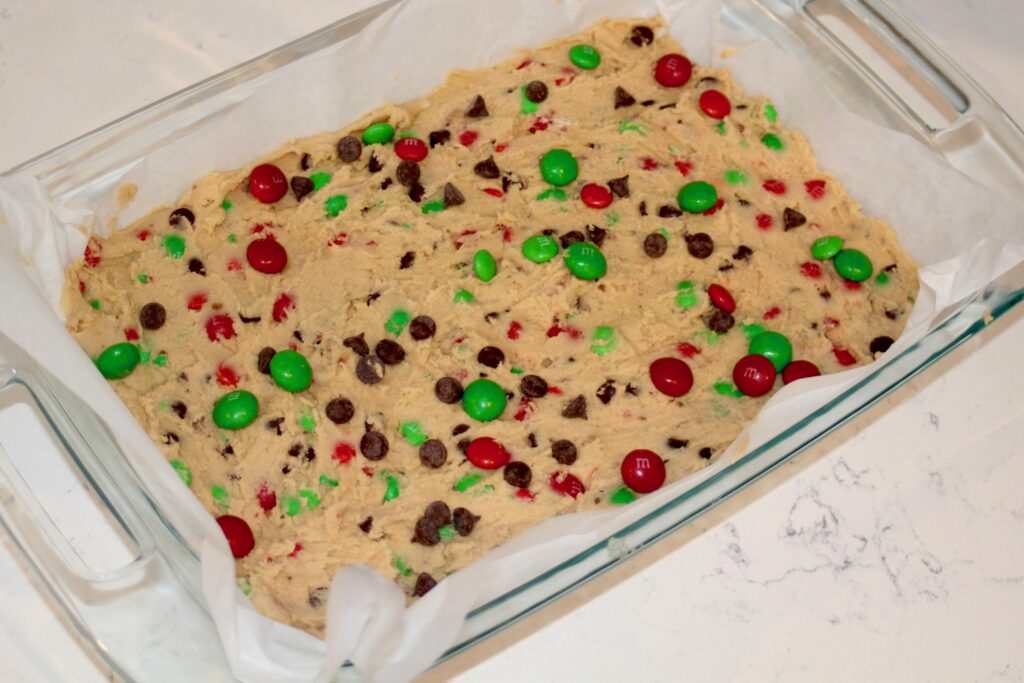
Lining the pan with parchment paper isn’t optional here. Pressing the parchment into the corners allows the bars to bake evenly and makes removal effortless once cooled. It also helps maintain clean edges when slicing.
Finishing the top with extra chocolate chips and M&M’s before baking does more than improve appearance. It guarantees visible mix-ins on the surface, which makes the bars more visually appealing and signals exactly what’s inside.
Allowing the bars to cool before slicing is crucial. Cutting too early can cause the center to fall apart. Once cooled, the bars set properly and slice clean into even portions.
Serving, Storage, and Make-Ahead Tips
These Christmas M&M Cookie Bars are designed to be made ahead. In fact, they often taste better the next day once the flavors settle and the texture fully sets.
Store the bars in an airtight container at room temperature for up to four days. For longer storage, they can be refrigerated, though allowing them to come back to room temperature before serving improves texture.
They also freeze well. Slice the bars, wrap them individually, and freeze for up to two months. Thaw at room temperature when ready to serve.
Because they’re baked in a single pan and sliced evenly, these bars are ideal for parties, cookie exchanges, and holiday dessert tables.
Why You’ll Love This Christmas M&M Cookie Bars Recipe
These bars are thick, chewy, and balanced — not overly sweet, not dry, and not overloaded. The combination of chocolate chips, festive M&M’s, and peanut butter M&M’s gives you contrast in every bite, while the buttery base keeps everything grounded.
They’re easy to make, easy to serve, and easy to remake. One bowl, one pan, no chilling, no guesswork. Whether you’re baking for family, friends, or content, these Christmas M&M Cookie Bars deliver consistent results with a polished, bakery-style finish.
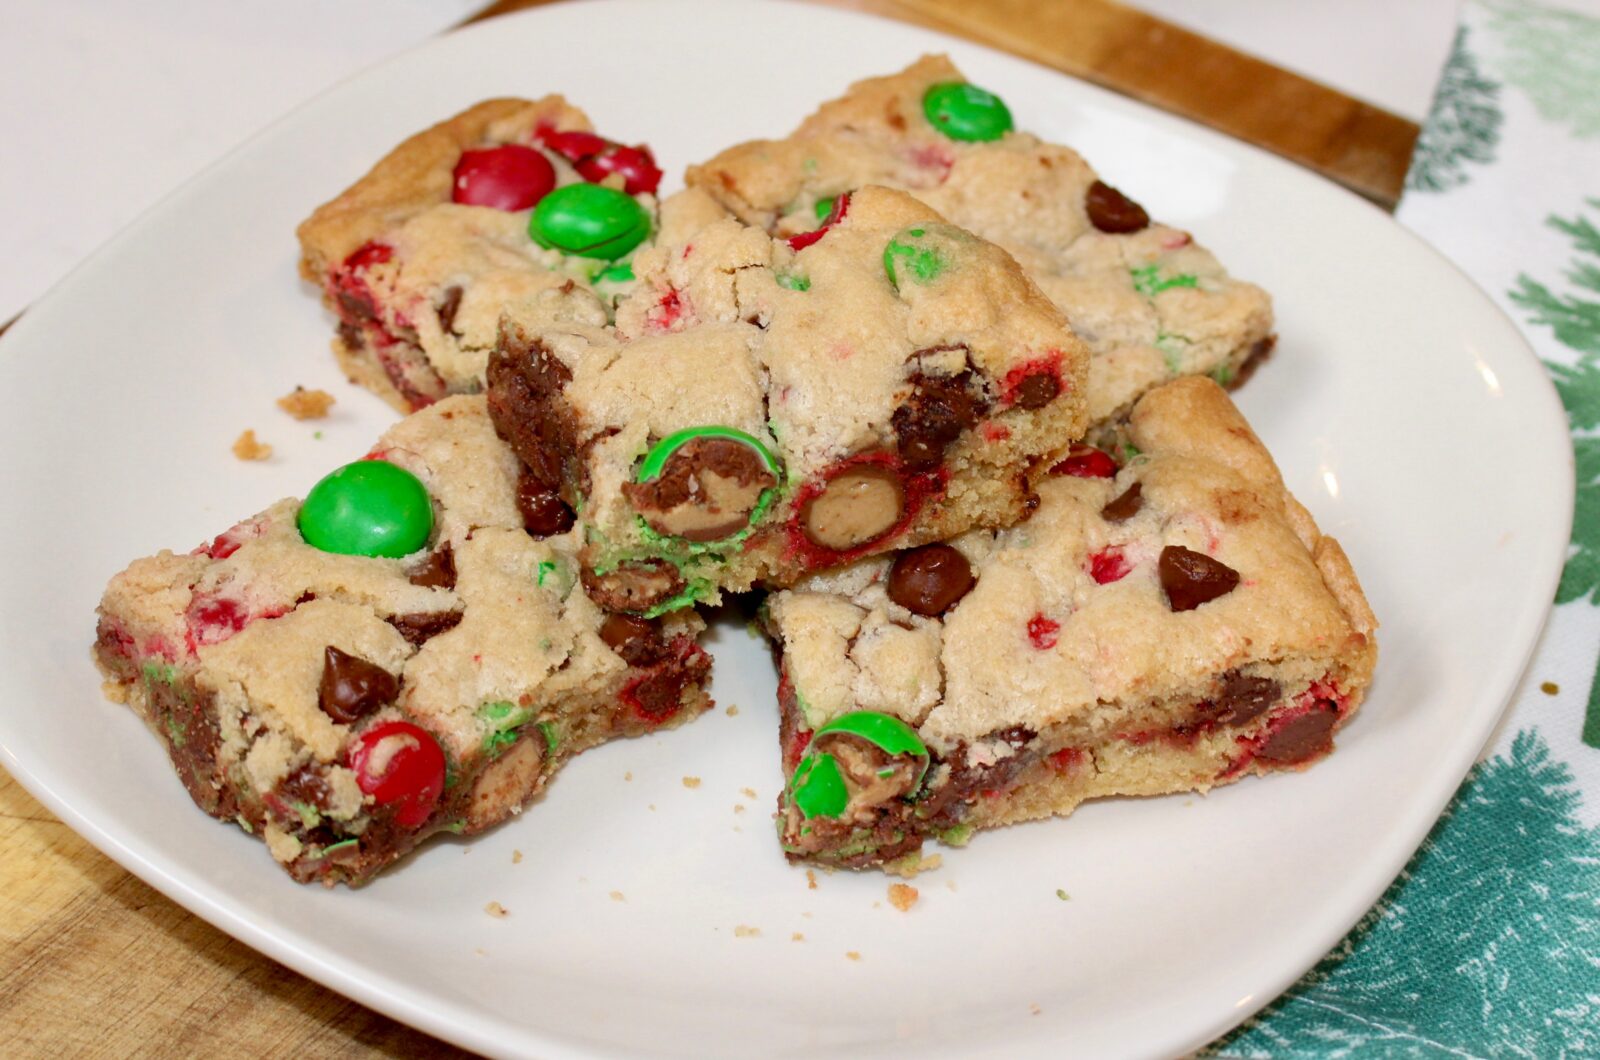
Christmas M&M Cookie Bars
18
servings15
minutes25
minutes45
minutesIngredients
¾ cup ¾ unsalted butter, softened
¾ cup ¾ brown sugar
⅓ cup ⅓ granulated sugar
2 large 2 eggs
1 ¾ cups 1 ¾ all-purpose flour
½ tsp ½ baking soda
¾ cup ¾ chocolate chips
½ cup ½ Christmas M&M’s
½ cup ½ peanut or peanut butter M&M’s
extra chocolate chips and M&M’s for topping
Directions
- Preheat oven to 350°F. Line a 9×13-inch baking pan with parchment paper
- In a large mixing bowl, add the softened butter, brown sugar, and granulated sugar. Mix until fully combined and smooth.
- Add the eggs and mix again until incorporated.
- Whisk together the flour and baking soda then add to the bowl.
- Add the chocolate chips, Christmas M&M’s, and peanut butter M&M’s.
- Gently mix or fold until all ingredients are evenly combined, being careful not to overmix.
- Transfer the dough to the prepared pan and spread evenly using a spatula.
- Sprinkle additional chocolate chips and M&M’s over the top, pressing them lightly into the dough.
- Bake for 25 minutes, or until the top is set and lightly golden.
- Remove from the oven and allow to cool before slicing.
- Cut into 18 bars (or smaller pieces if desired) and serve.
Recipe Video
Did you make this recipe?
Tag @calebs.cuisine on Instagram
Join our Facebook Group!
Follow Caleb’s Cuisine on Facebook


